 Installing the Desktop Client
Stantec recommends that all ProjectWise users use the Desktop Windows Client with ProjectWise, as it is the only way to receive full functionality of ProjectWise while working with CAD / Design software. However, some users may not be able to use the Desktop Client because of security policies within their organization.
Uninstall old ProjectWise software
- The Stantec support site contains the latest ProjectWise Full Client Installation package (10.00.03.336 or newer ) . If you have another version installed that does not match this version, you should uninstall it first for best results. Do not install multiple versions of this software on the same computer.
- If you wish to uninstall your existing version of ProjectWise explorer, go to the Windows Control Panel > and select "Programs and Features". Then find the ProjectWise client entry and uninstall it as well as any pre-requisites and ProjectWise related add-ons.
- You must login with an administrative account on the client computer to install the software. For this reason you may need to contact your local IT support person for assistance with the install.
Installing the ProjectWise Explorer Client
- Download the ProjectWise Explorer client software from the Downloads page.
- Once the download is complete, browse to the file, and double click on it. Place a check in the End User agreement box and then click next
- Select all of the available installation options

- A restore point will be created
- The software selected in step 3 will now be installed

- Once the CONNECTION Client is installed you will see this login screen while the rest of the software install continues. (Unless the CONNECTION Client was already installed on your computer )

- This login is provided by the software vendor, Bentley. You can create an account if you do not already have one by going to this site and clicking on the Register link. Projectwise Explorer will work without using the CONNECTION Client software, but it will continue to prompt users to login. It is best to create the account (free) and use it to login - this can be done at anytime and will not prevent the install from completing.
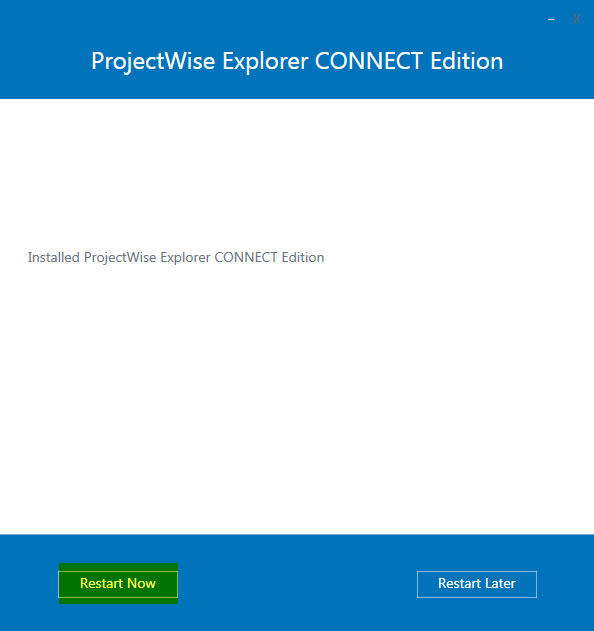
- Once all the software components are installed you may be prompted to restart. Please save any open work and click restart now.


Setting Up the Datasource
Now that you have ProjectWise Explorer installed, you must direct it to Stantec's server. To do this, you will need to setup the Projectwise Network from the Windows Control Panel
- Open your Windows Control Panel and click on "ProjectWise Network"
- On the General Tab place a check mark in the box next to "Prevent UDP" and clear the check boxes next to "IPv6 Enabled" and "IPv6 Preferred"
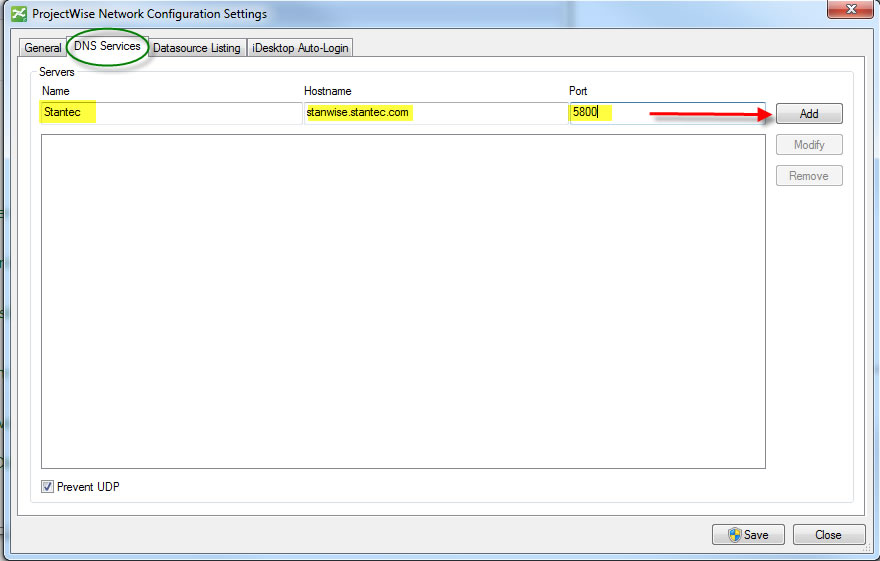
- Select the DNS Services Tab. Enter the following:
Name = Stantec
Hostname = stanwise.stantec.com
Port = 5800
Place a check in the Box nect to "Prevent UDP"
Click Add then Click Apply.

- Click on the Datasource Listing Tab and Enter the following:
Name = Stantec
Hostname = stanwise.stantec.com
Port = 5800
Place a check in the Box nect to "Prevent UDP"
Click Add then Click Apply.
- Click the SAVE button to save your changes
- Open Projectwise and select the Datasource provided by the project manager to open the login dialog box


